Menu

Are you a vaping enthusiast looking to take your experience to the next level? If so, you’ve come to the right place! This comprehensive guide will delve into coil building and show you how to use a Coil Master DIY Kit effectively. Whether you’re a seasoned vaper or just starting, mastering coil building can enhance your vaping experience. Explore this step-by-step here before going to a vape shop in Calgary!
Before jumping into the nitty-gritty of using a Coil Master DIY Kit, you must have a solid grasp of the fundamentals of coil building.
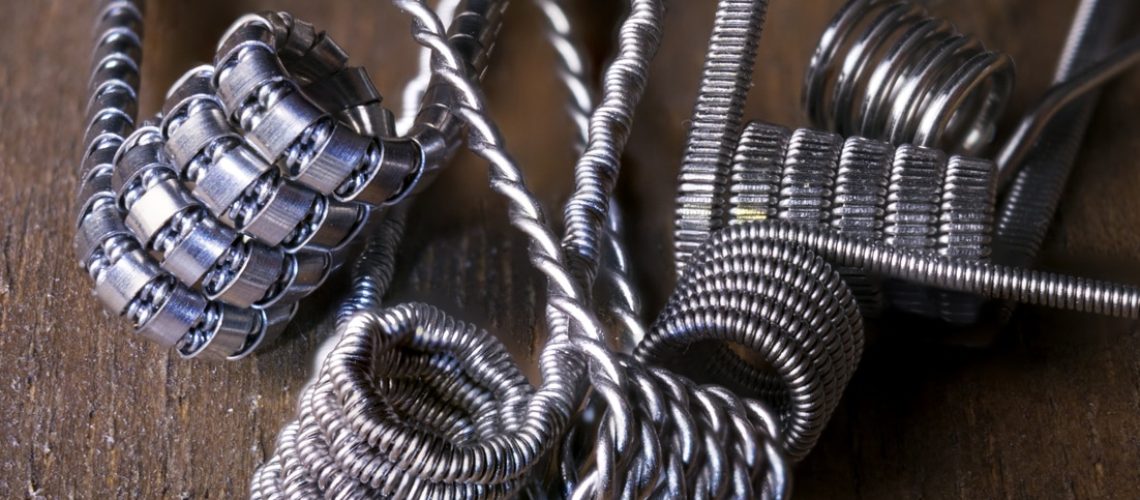
Coil building is the art of creating your own heating elements for your vape device. Instead of pre-made coil heads, coil builders craft custom coils to suit their resistance, flavour, and vapour production preferences.
Building your coils offers several advantages:
Safety should always be your top priority when dealing with coil building. Ensure you have the necessary tools and knowledge to build safely. Always read the user manual of your vaping device, and be aware of the limits of your batteries.
Now that you understand the fundamentals of coil building and have bought one from a vape shop in Calgary let’s start assembling your Coil Master DIY Kit.
Your Coil Master DIY Kit typically includes the following:
Create a clean and organized workspace to prevent accidents and make the coil-building process more efficient. Lay out all your tools and materials, ensuring easy access.
Now, it’s time to dive into the practical aspect of coil building. We’ll guide you through the process step by step.
Choose the wire type that suits your vaping style:
Use an ohm meter to measure the resistance of your coil as you build it. It ensures you stay within the safe operating range of your device. Refer to your device’s manual for recommended resistance levels.
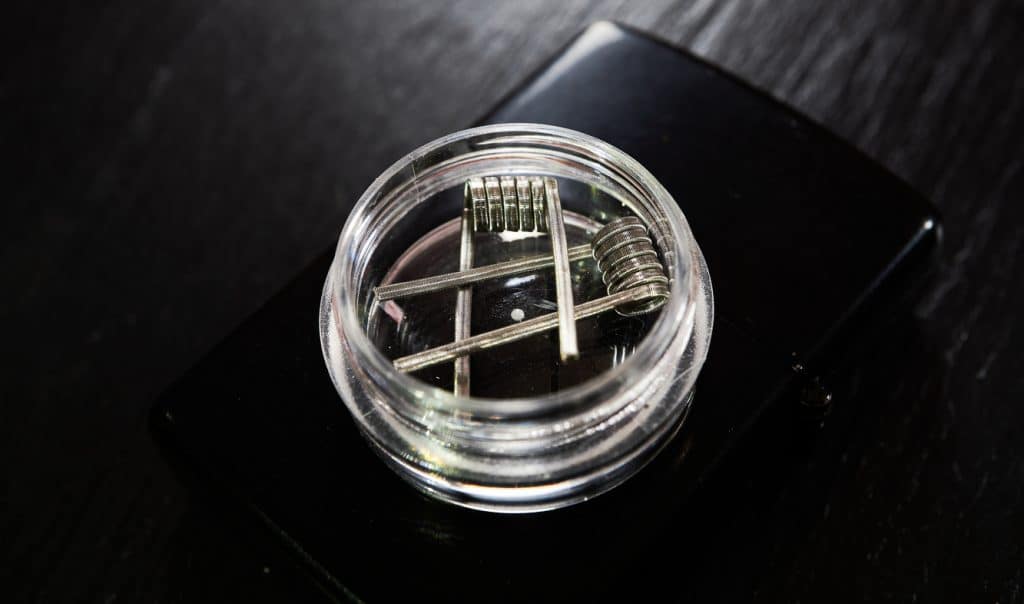
Use the coiling jig or a screwdriver to wrap the wire into coils of the desired diameter. The number of wraps and coil diameter will affect the resistance. Experiment to find your preferred balance of resistance and performance.
Install your coils into your vaping device’s RDA (Rebuildable Dripping Atomizer) or RTA (Rebuildable Tank Atomizer). Ensure they are properly positioned and the screws are tightened securely.
Select organic cotton pads or cotton threads designed explicitly for vaping. Quality cotton ensures optimal flavour and wicking performance.
Cut a strip of cotton and gently thread it through the coils. Ensure the cotton is snug but not too tight, as it should allow airflow.
Before vaping, saturate the cotton with your favourite e-liquid. This priming step prevents dry hits and helps with flavour production.
Before you start vaping, testing your coils for safety and performance is crucial.
Once your coils are in place, use the ohm meter to double-check the resistance. Ensure it matches your intended target.
Fire your coils briefly at a low wattage to check for hotspots or uneven heating. Use ceramic tweezers to adjust the coils until they heat up evenly from the inside out.
Now that your coils are ready, it’s time to enjoy your vaping experience. Here are some additional tips for maintaining your coils and getting the most out of your DIY setup:
Regularly check your coils for signs of wear and tear. Replace the cotton and dry burn the coils to remove residue and extend their lifespan.
Feel free to experiment with different coil builds to find the one that suits your taste. Explore various wire types, coil diameters, and wrap counts.
Congratulations, you’ve now mastered the art of using a Coil Master DIY Kit to build your coils and enhance your vaping experience. Remember that coil building requires practice, so keep going even if your first attempts aren’t perfect. You’ll become a skilled coil builder with time and patience, customizing your vaping experience perfectly. Enjoy your journey and happy vaping!
Foggy Gorilla Vape Shop is your one stop shop for all your electronic cigarette and vaporizer needs. Located in Calgary, Airdrie, Red Deer, Stettler and Sylvan Lake we offer customers a wide variety of products for every experience level. Our vape shops have every item you need for your vaping experience, including starter kits, vaporizers, Canada’s best box mods, quality Aspire coils, E-Juices and many more accessories. Come visit our team at any one of our locations and contact us today!